

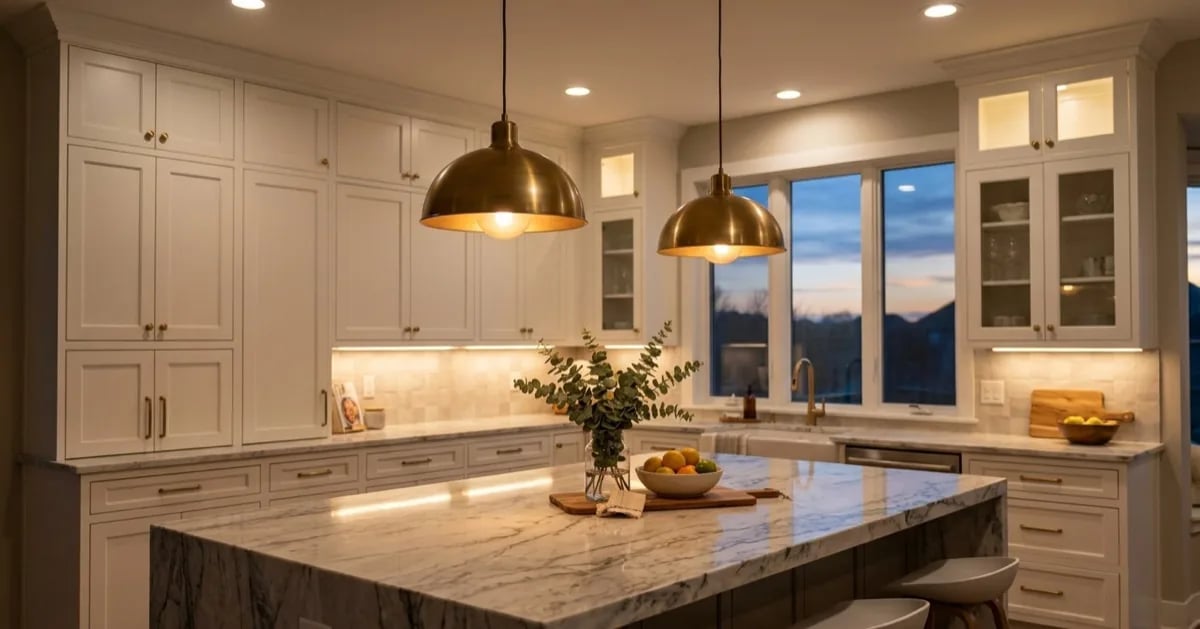
Lighting changes how every other choice in a room looks. The same tile and cabinets look warm under one bulb and flat under another. It is also the part of a renovation that is hardest to correct later, because the wiring sits behind finished walls and ceilings.
That makes lighting a planning decision, not a decorating one. Here is how to do it well.
Think in layers
A well-lit room uses three kinds of light together:
- Ambient light fills the room and lets you move around safely. Ceiling lights, recessed fittings and large pendants usually provide it.
- Task light shines where you work: over a counter, a desk, a sink or a stove. It should be bright enough to see detail and positioned so you do not cast a shadow on your own work.
- Accent light adds depth and mood: wall lights, picture lights, lamps and light under shelves.
Plan each layer separately. A single ceiling light cannot do all three jobs.
Draw it on the plan
Take a floor plan, even a simple sketch, and mark where each light goes, along with every switch and outlet. Then walk through the room mentally at different times: early morning, working in the afternoon, cooking in the evening, relaxing late at night. Ask which lights you would want on in each case.
Position pendants and fixtures carefully
Hanging lights need a measured position. Decide the center line, the height above the surface and the spacing between fittings before the electrician runs cable. As a common guideline, pendants over a counter or island hang low enough to light the surface but high enough that people at the table can see each other. Check the height with a tape measure against the people who will actually use the room.
Use dimmers
Dimmers let one fitting serve several moods and are cheap to include during the work. Check that the bulbs you choose are compatible with the dimmer type, because mismatches cause flickering and buzzing.
Choose the color of the light
Bulbs have a color temperature. Warmer light feels cozy and suits living areas and bedrooms. Cooler, whiter light feels crisper and suits workspaces. Using one temperature consistently across a room avoids a patchy look. Look at the bulb's rating before you buy, and test one in the room before you commit to a full set.
Plan outlets and switches with the lights
Decide where the switches go and which lights they control. A switch at each entrance, and logical groupings, make a room easier to live in. Add outlets where lamps and appliances will actually sit. Adding any of these later means cutting into finished surfaces.
Consider natural light
Look at where daylight enters and how it moves across the room through the day. Place task lighting where daylight is weakest, and consider what the room looks like at night when windows turn into dark mirrors.
Choose fixtures last, but choose the positions first
You can pick the exact fixtures late in the project, but the positions, wiring and power must be set early. The decorative part is easy to change. The infrastructure behind it is not.
Where RenoVote fits
In RenoVote you can save each fixture as a real product with its link, price and size, vote on the finalists with the people who will live in the room, and turn the winner into a task with an estimate. Start a free workspace to keep your lighting plan next to the rest of the project.
The short version
- Plan ambient, task and accent light separately.
- Mark lights, switches and outlets on a plan.
- Fix pendant positions and heights before wiring.
- Add dimmers and check bulb compatibility.
- Keep one color temperature per room.
- Set positions early and choose the decorative fixtures last.
The photos and illustrations on this page were created with AI.